It’s the season for merriment: food, drink, glitter, and candles! So many people stock up on their favorite holiday scents during this time yet those warm, cozy smells are secretly unhealthy for our bodies. Store bought candles can contain paraffin, a petroleum by-product. And their heavenly aromas are actually synthetically derived scents labeled as “fragrance” on their list of ingredients. Fragrance is a umbrella term that encompasses 5,000 additives that don’t need to be specified on the candle label. Once lit, these candles cause respiratory problems and aggravate asthma, allergies, and headaches (just to name a few.) Burning a candle for an hour in your home is just as bad for you as smoking a cigarette. (Read this great article)
Diffusing essential oils is always my favorite option. Again, beware: not all essential oils are the same as some still contain fake fragrances and synthetics. Young Living essential oils support our bodies and use 100% the power of the plants. But sometimes, I miss the flame of a candle so I made my own. Beeswax and coconut oil provide a clean base for my home, and the addition of Young Living essential oils waft holiday spirit throughout my home.
Basic Recipe
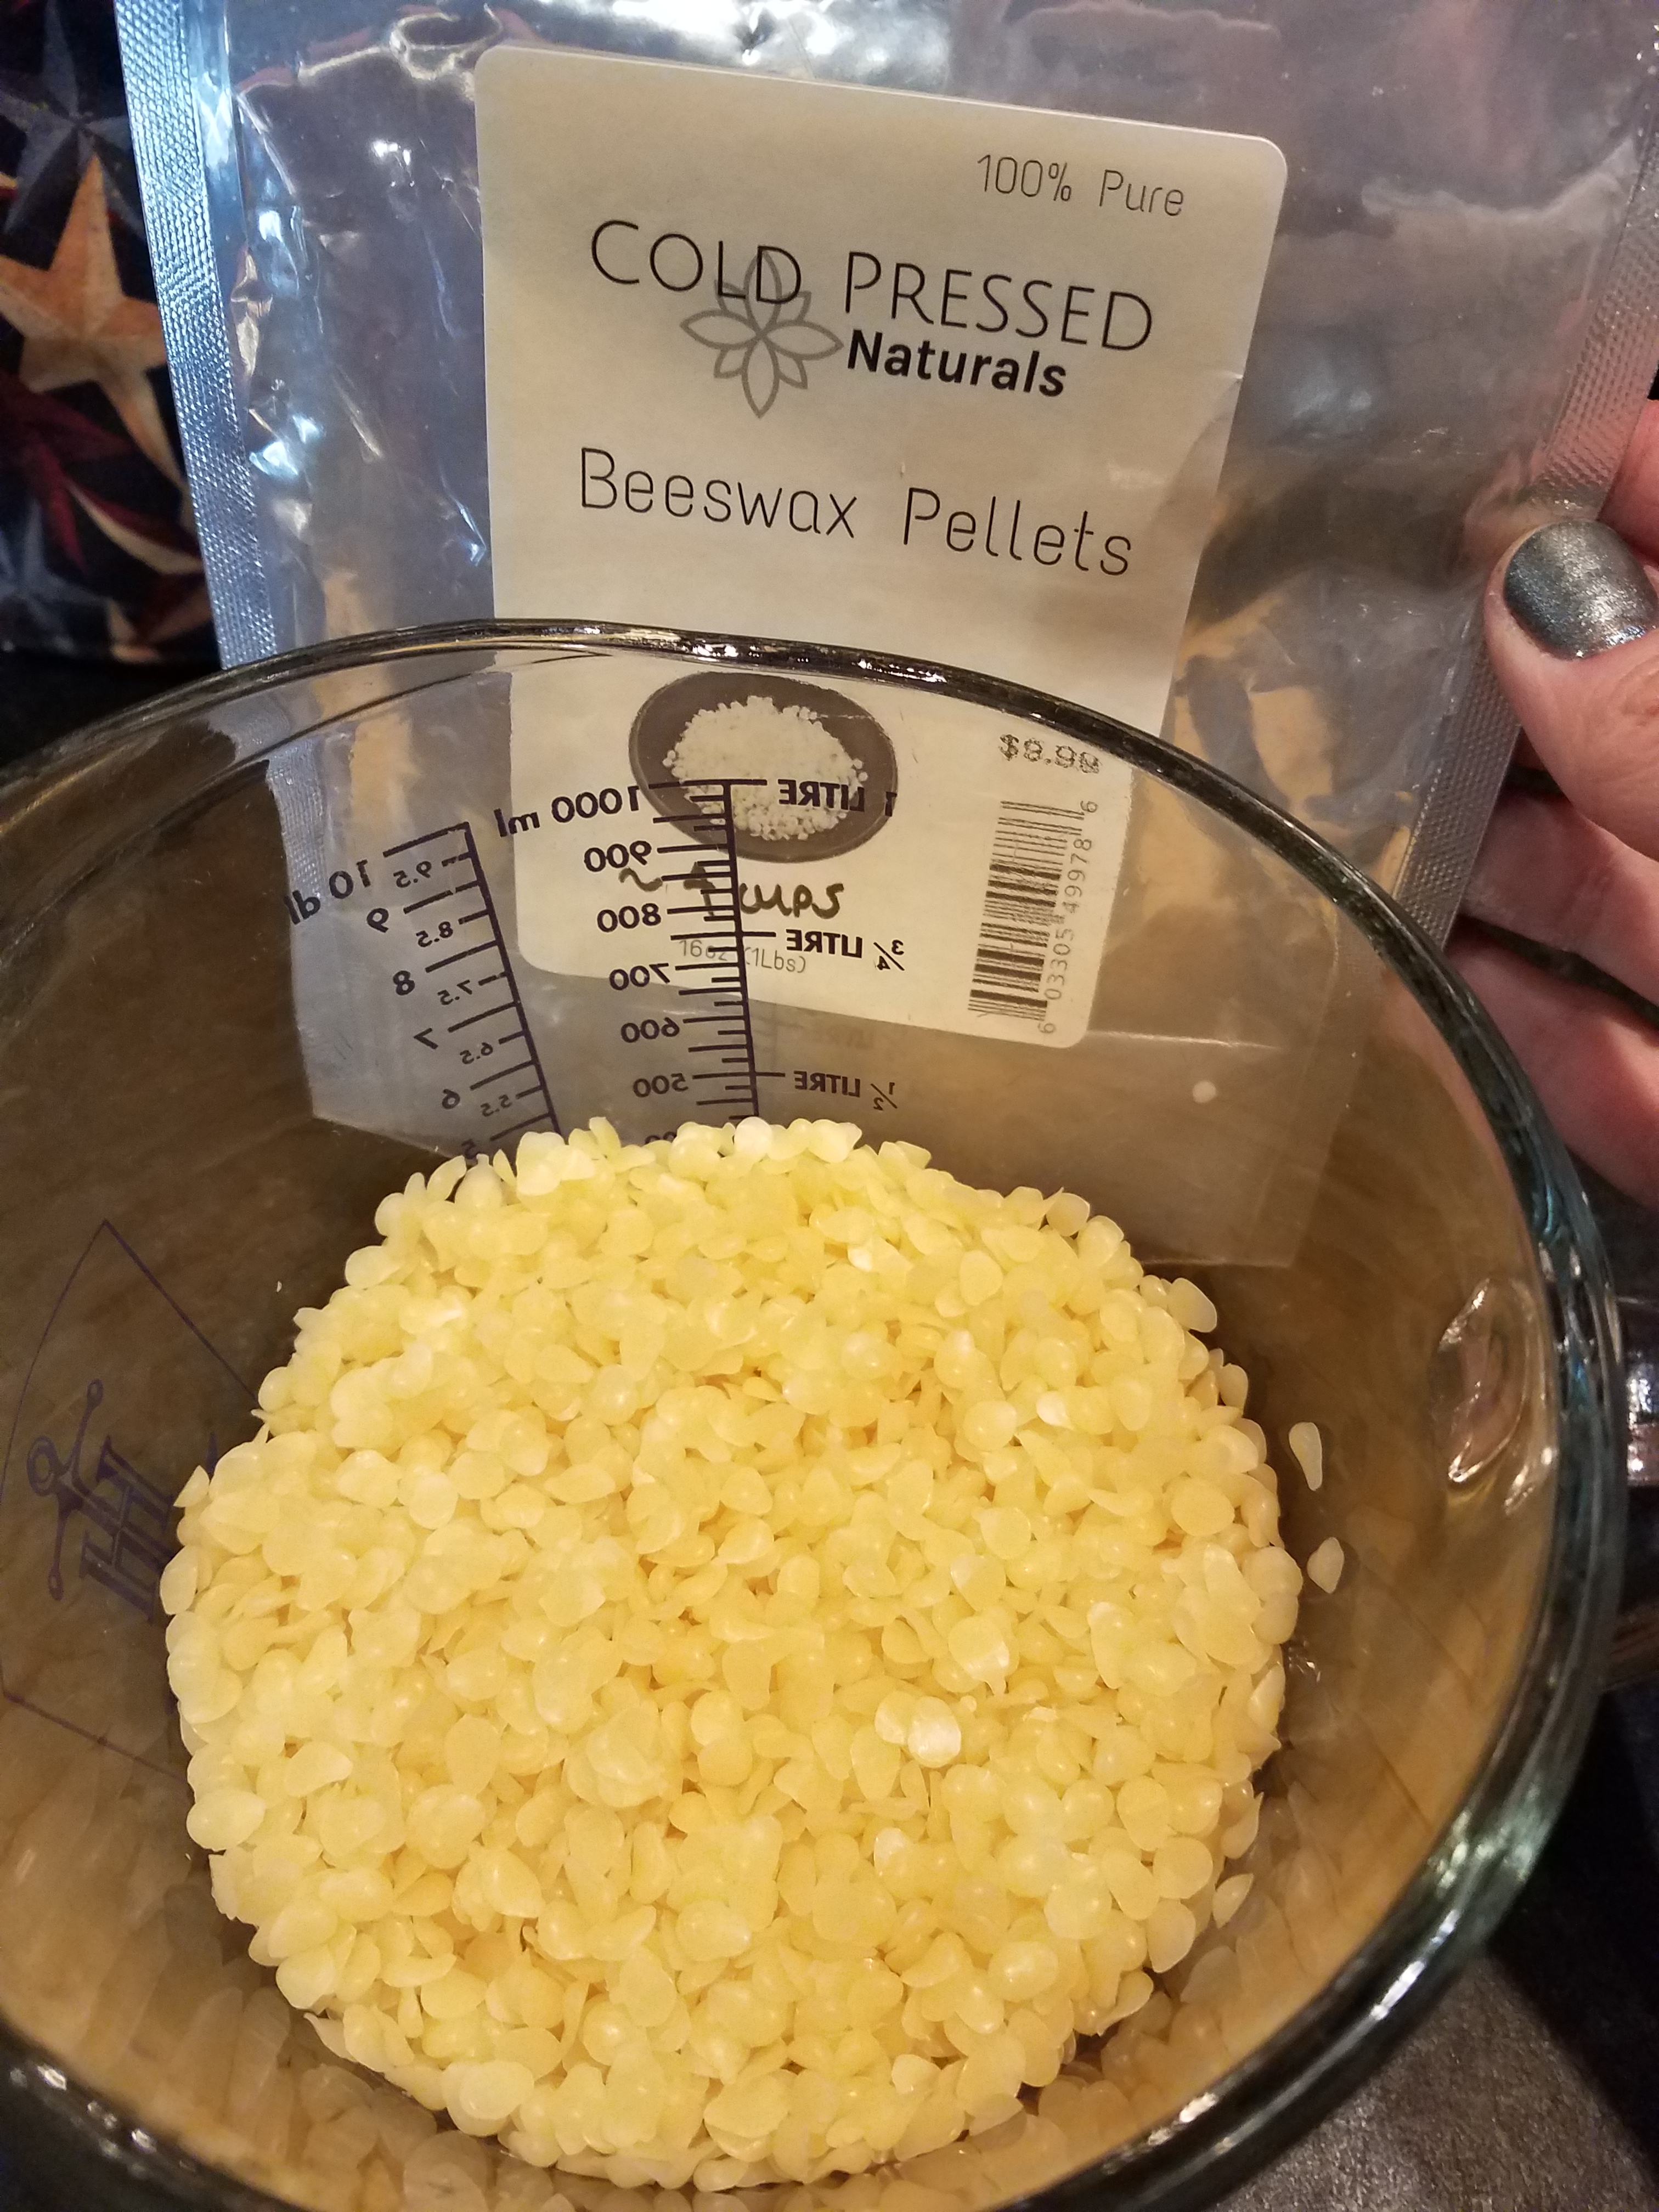
- Beeswax 75% of recipe
- Coconut Oil: 25% of recipe
- Essential Oils: Be prepared to use a lot!
- Glass jars
- Wicks
- Pencils

Instructions
For the purpose of this recipe, I will use 24 ounces as my reference point.
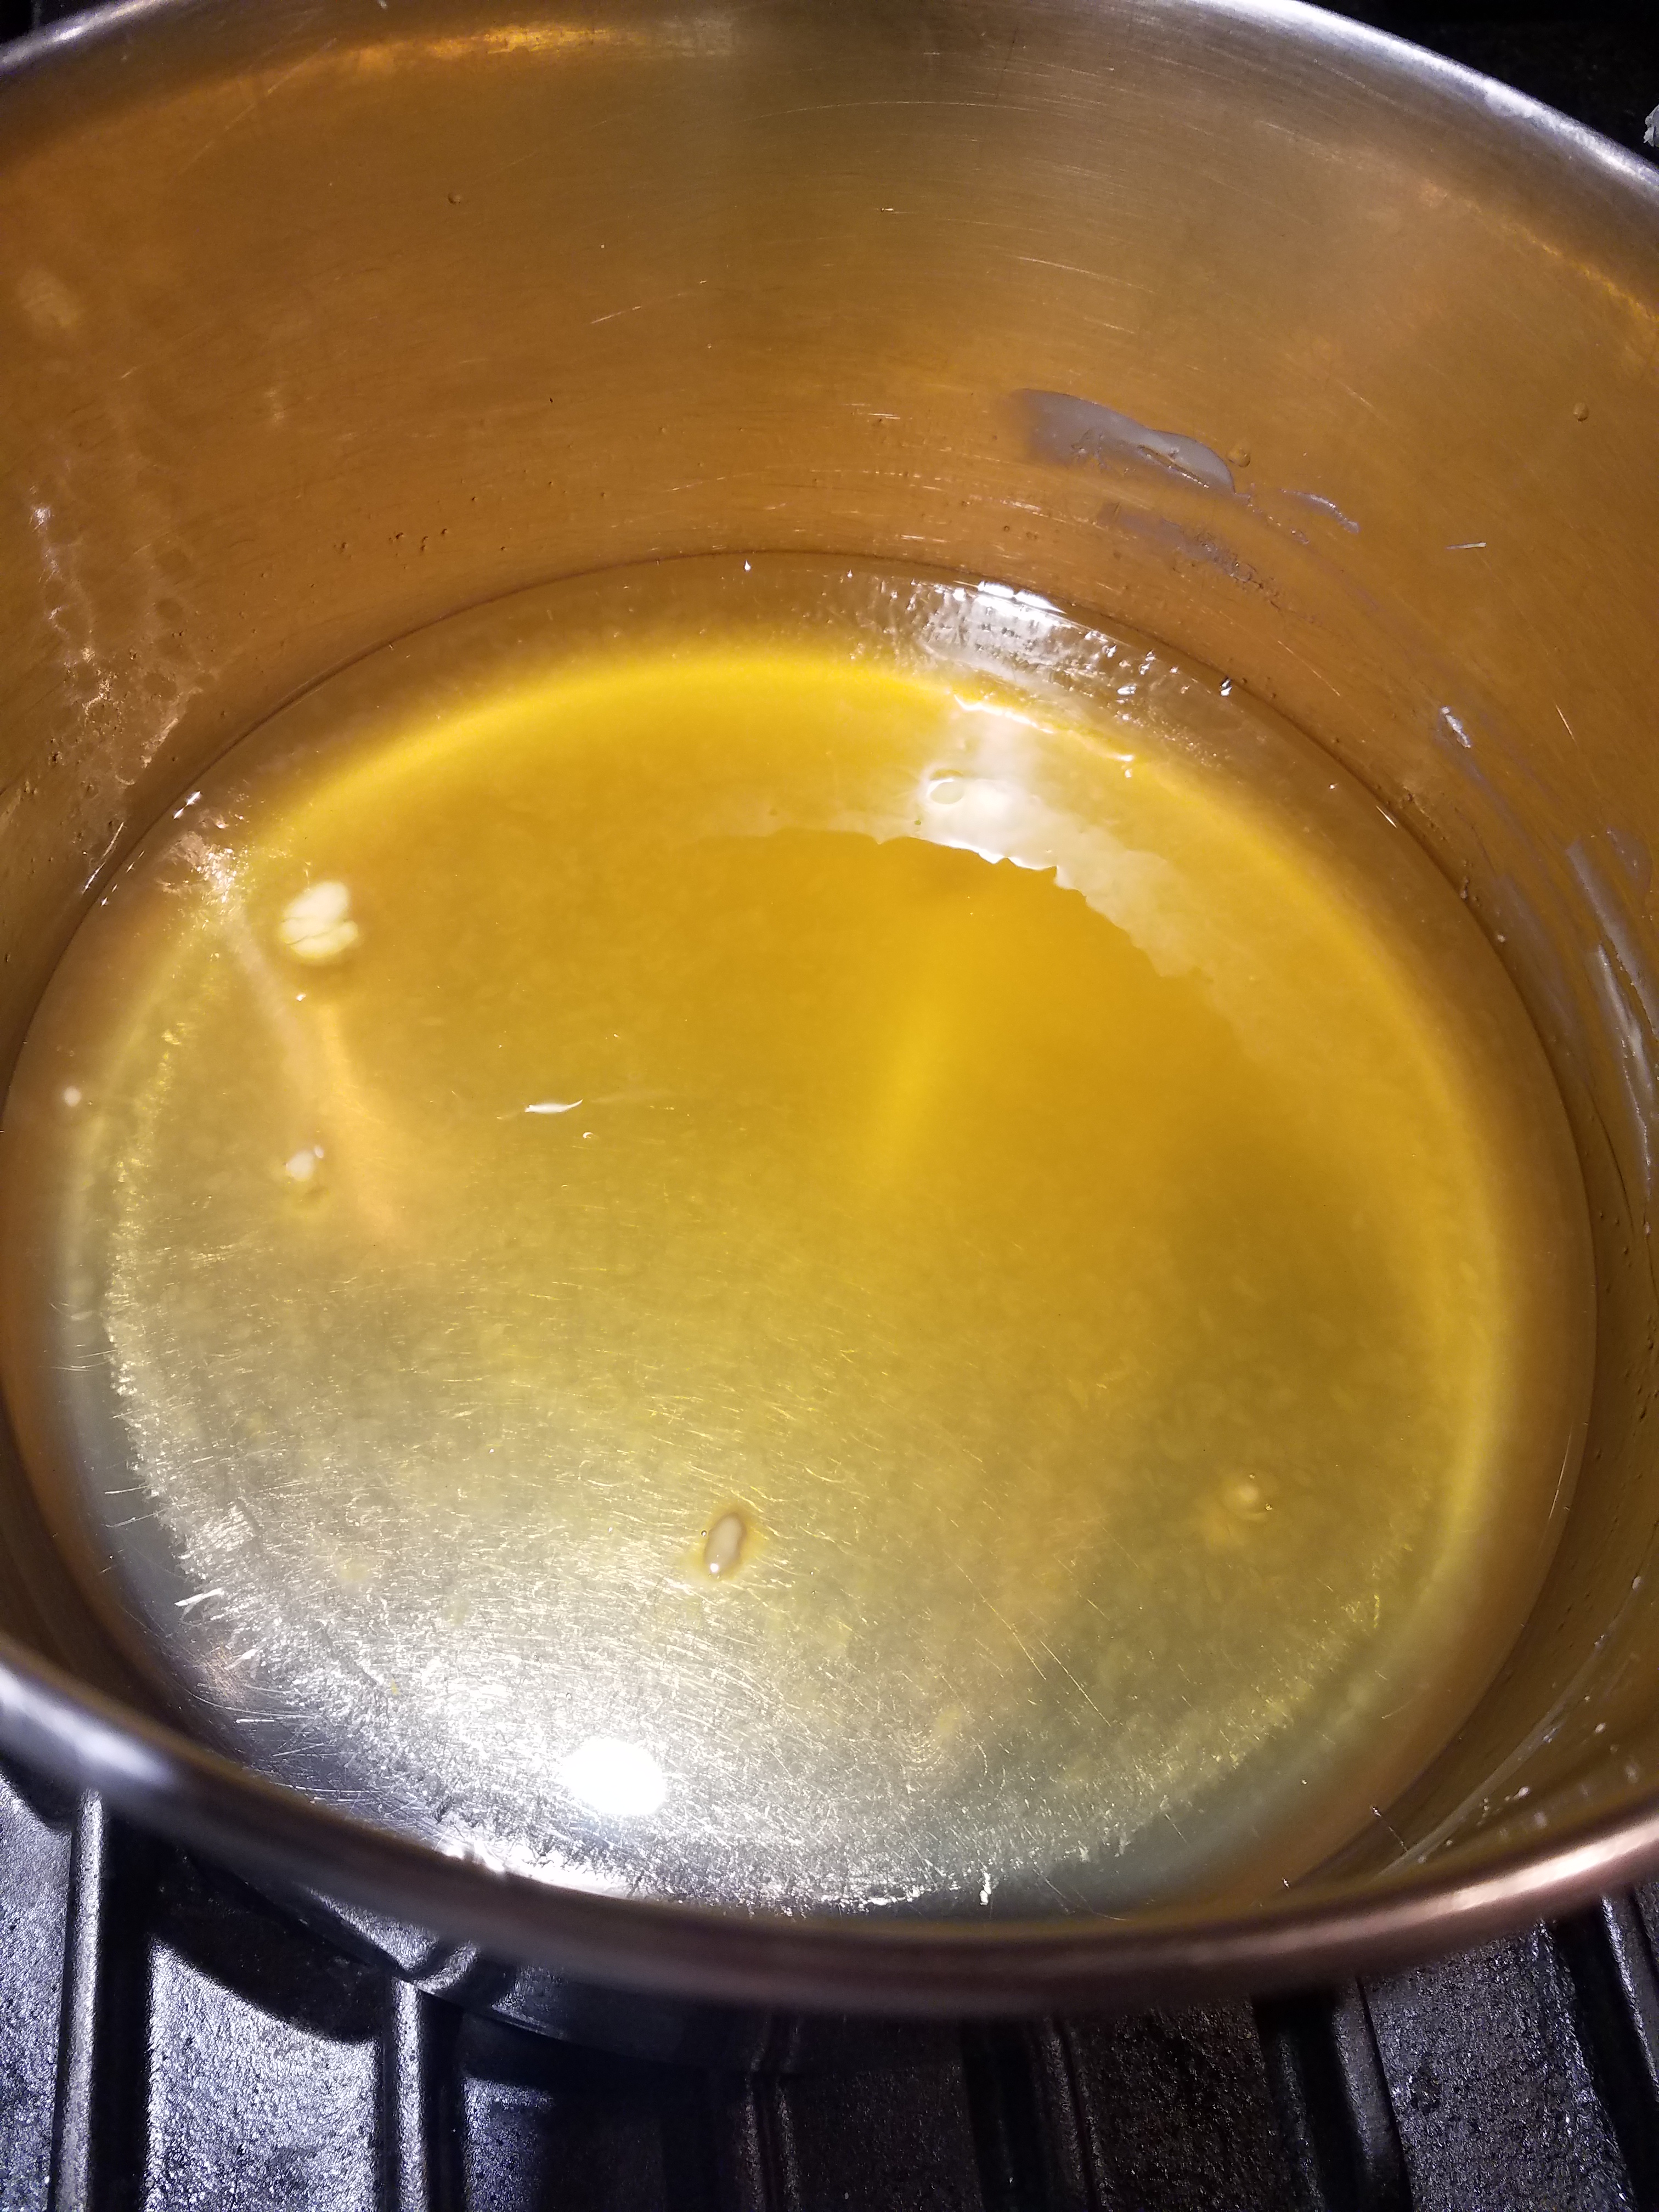
In a large pot or double boiler, melt 18 ounces of beeswax (75%) with 6 ounces of coconut oil (25%) over low heat. I measured by volume and not by weight for this recipe. A glass measuring cup works well.
Once melted, dip a wick end with the metal disc into the melted wax. Quickly center the dipped end on the bottom of a glass jar. Press and hold in place until it hardens. (The eraser end of a pencil helps with this.) Sometimes spooning a small amount of melted wax around the metal disc is helpful also. Secure wicks in the bottoms of all the jars you will be using.


Once the wick is secured to the bottom, the waxed string needs to be centered in the glass jar and remain stable when the container is filled with the wax. To help with this, very carefully wrap the excess length of the wick a few times around the center of a pencil. Then lay the pencil across the top of the jar opening. Again, do this for all the containers you will be using.
Turn the heat off on the stove. Add the essential oils and stir.
Pour the melted wax into the jars. Leave a ½ inch space at the top. Once the candle begins to cool, there may be an area around the wick where the wax has caved. If there is extra wax, gently rewarm and fill in the indentations.


Allow the wax to fully cool for about 24 hours. Trim the wick to ½ inch.

Note about Essential Oils in this Recipe
Candles require A LOT of essential oils. I find they are a great way to use up the remainder of oils in several bottles. An essential oil graveyard is what I like to call it 😊 Also, I find that the beeswax “softens” the scent of some oils. For example, cedarwood can be a strong EO when used in the diffuser. But I used it in a batch of candles, and mixed with the beeswax, it provided a pleasant and still relaxing smell.
For every 8 ounces of wax, you need to use 2-4 teaspoons of oil depending on preference. There are approximately 100 drops in 5 ml (or 1 teaspoons of oil). This might be a good time to use one of the free bottles of oil received from your Essential Rewards monthly order. (That’s how the cedarwood batch developed as mentioned above!)
Reference: Mountain Rose Herbs blog

